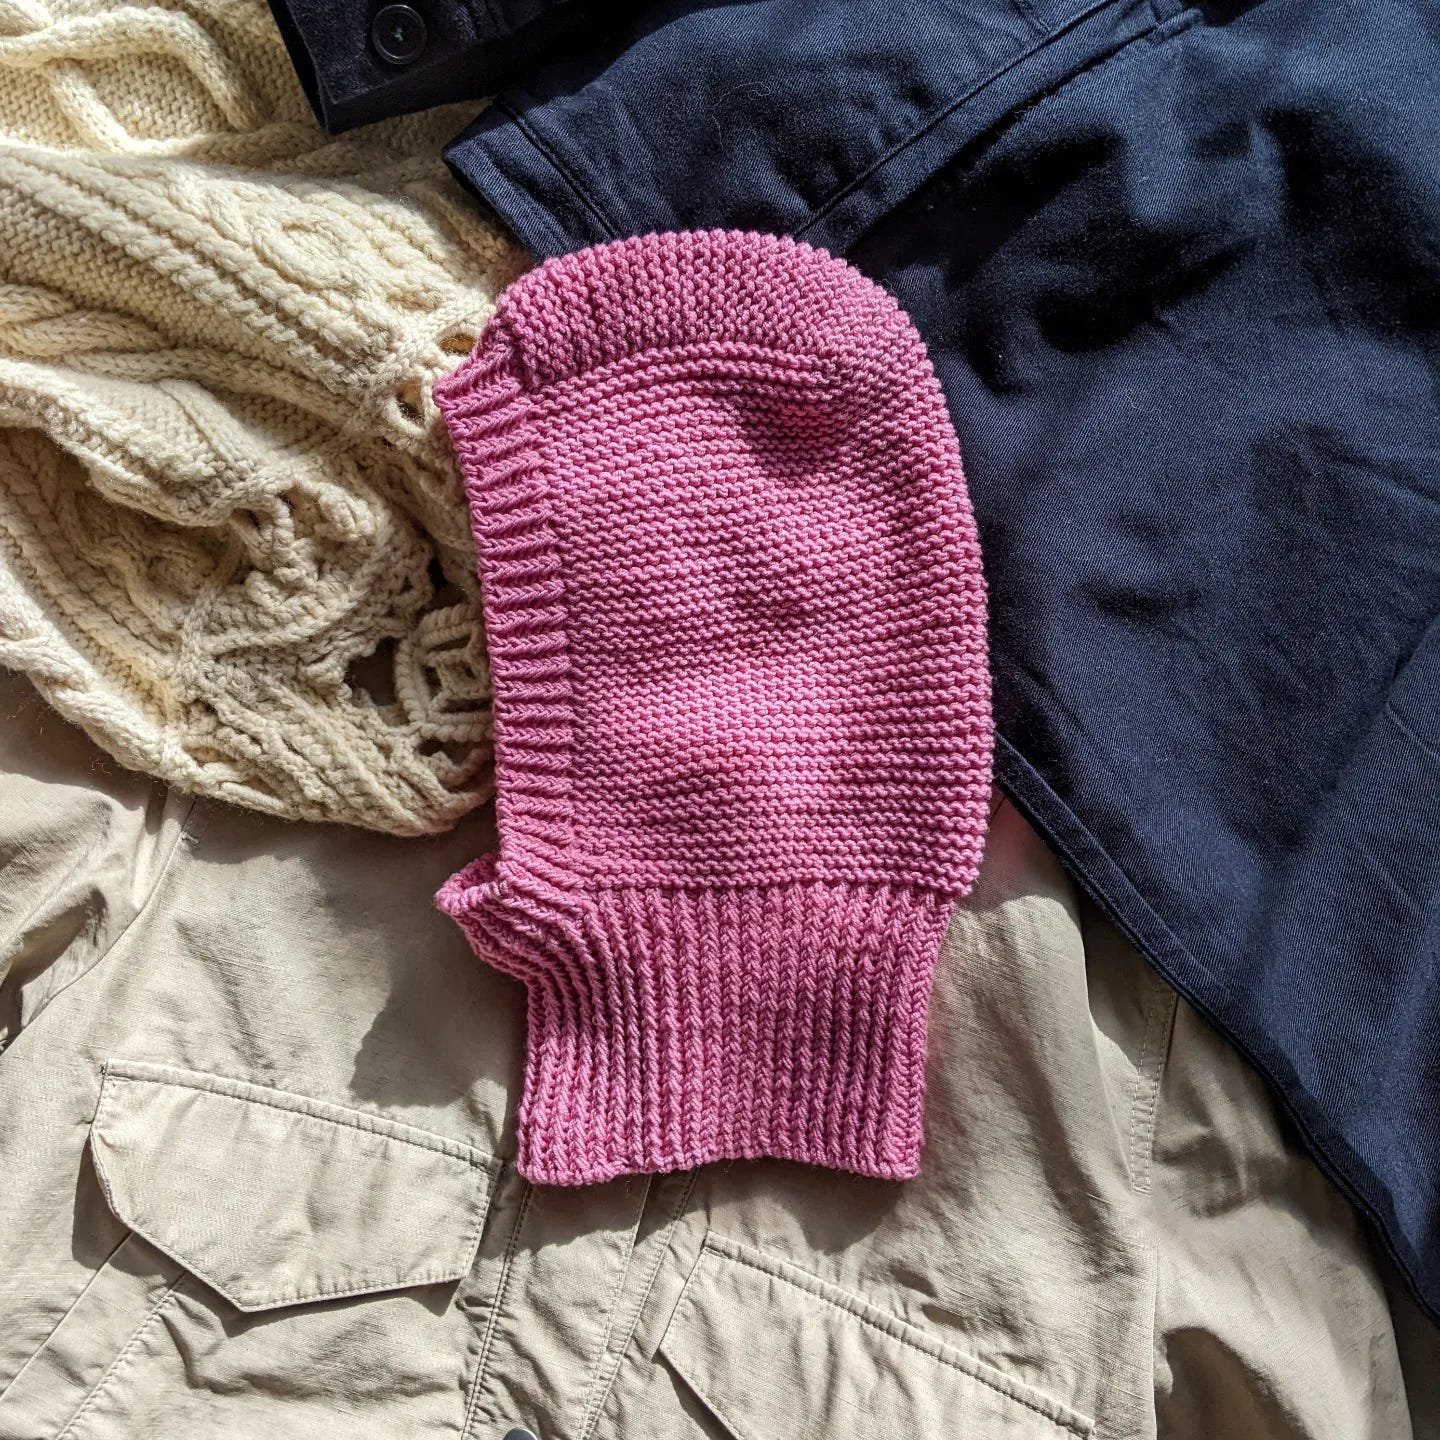
The Italian bind-off is my absolute favorite. It’s a very practical technique to learn, creating a beautiful, professional-looking, and stretchy bind-off edge. It’s perfect for ribbing. I’ve used it in my UkiUki Balaclava knitting pattern. As you can see in the picture, the bind-off appears as a seamless continuation of the ribbing.
The method may seem confusing initially, but trust me, after you’ve done it two or three times, it will become super easy. The technique for knitting flat and in the round is identical. However, I’m going to share a trick for finishing your work in the round that I learned a few years back and have been loving ever since. It makes the finishing of the bind off look much cleaner and seamless.
Italian bind off
Preparation:
After finishing your knitting break the yarn, leaving a tail that is approximately 3-4 times the length of the edge you want to bind off. Most tutorials recommend 4 times the length, it always ends up too long for me but if you’re doing this for the first time, consider leaving more tail to ensure you have enough for the bind off.
Thread the tail onto a tapestry needle.
Place pins on the first two stitches so that you can easily find and use them at the end of the bind off process.
Italian bind off repeat:
Insert the needle into the knit stitch as if to knit and take it off the needle.
Skip the purl stitch and go through the next knit stitch as if to purl. Pull the yarn through.
Go through the purl stitch as if to purl and remove it from the needle.
Go behind the knit stitch and into the next purl stitch as if to knit. Pull the yarn through.
Repeat steps 1-4 until only 2 stitches remain on your needles.
Finishing:
Take the knit stitch off the needle as if to knit.
Skip the purl stitch (the last stitch on your needles).
Lift the pin with the first bound off stitch and insert the needle into it as if to purl. Pull the yarn through.
Go through the purl stitch as if to purl and remove it from the needle.
Lift the second pin and insert the needle into the stitch knitwise. Pull the yarn through.
Weave in the end.
Tutorial:
Tadaaa!
Happy knitting,
Marta
Stay tuned for more life-changing techniques.
This newsletter is completely free for everyone. However, if you enjoy my content and would like to support me, you have the option to buy a subscription. By doing so, you contribute to the growth and sustainability of this newsletter. Your support means the world to me.


